Step-by-Step Guide
- 1. Development Environment
- 2. Customising the ModStub project
- 3. PreBuild Automations
- 4. PostBuild Automations
Development Environment
We begin with installing Visual Studio 2019 as our IDE. Download the installer and run it on your Computer.
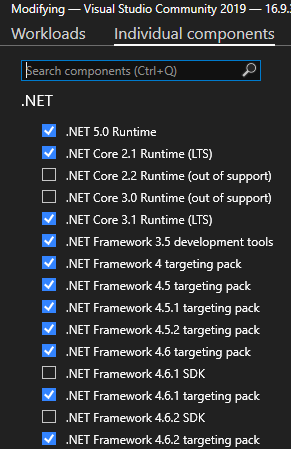
Inside the visual studio installer, ensure that
.NET Desktop Developmentand.NET Core Cross-Platform Developmentare installed, then click on theIndividual Componentstab and select.NET Framework 4.6.2:
Fork our ModStub repository using github. You can also use the template function of github to create a new, clean repo under your account. You should have your own copy of the JotunnModStub now. To get your link to the repo click on
Codeon the front page of your repo and copy the link in it.

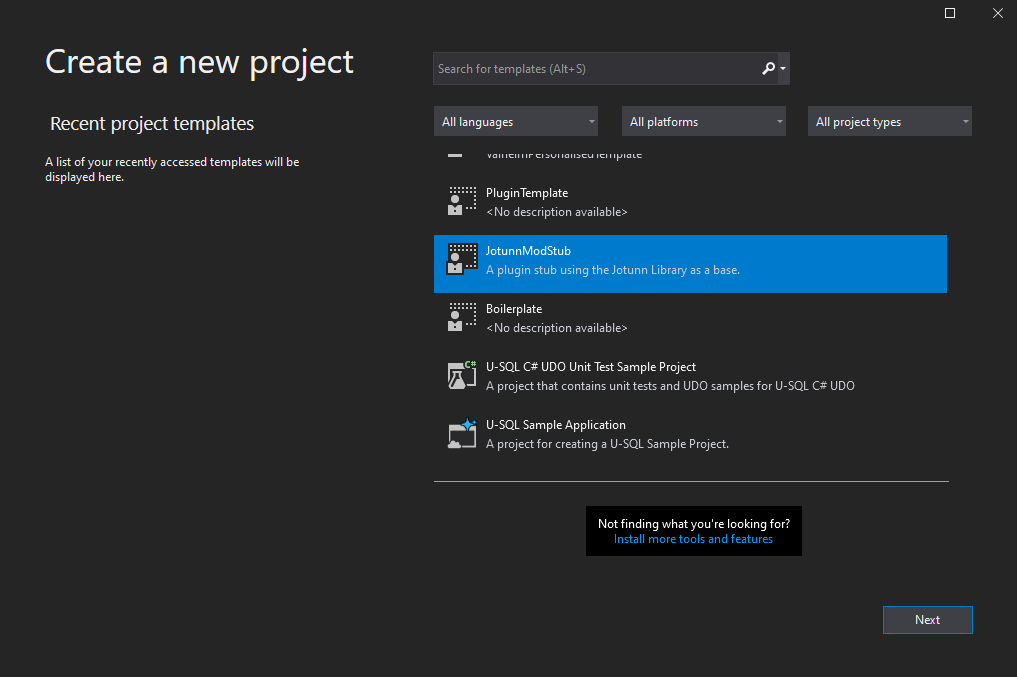
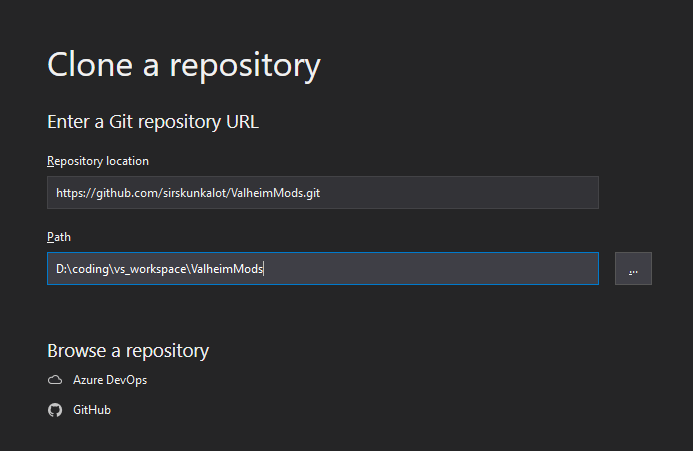
Open Visual Studio and create a new project with
Clone a repository. Paste the URL to your newly created repository on github and select a folder on your local hard drive for it.
BepInEx and unstripped Unity dlls
For a mod to function at all you need BepInEx installed to Valheim and also the unstripped Unity libs as the devs of Valheim decided to strip their shipped versions down to just the methods they use. This is some sort of "protection" which totally does not hinder us at all ;)
If you are using Vortex or any other mod manager, you most likely have the folders already in Valheim. If not download the BepInExPack for Valheim and extract its contents anywhere except the Valheim installation folder. Inside the pack is another folder called
BepInExPack_Valheim. Copy the contents of that folder into your own Valheim installation.